DIY Decorating with Rustic Wood
Dec 14th 2018
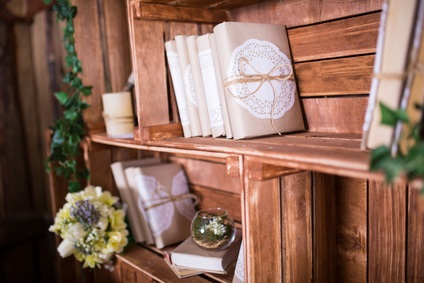
 With increased interest in reclaimed or natural materials, one of the hottest decorating trends in the last few years has been the incorporation of rustic elements. Raw woods, unpolished stone, and natural fabrics, like jute and hemp, are frequently used in design or staging projects. Rustic wood is a versatile and popular material and is the easiest way to bring a little bit of the outdoors into the home.
Rustic wood can be used as a design element in many different styles. Obviously, it works in Western or lodge-type settings, but farmhouse, retro, coastal, and modern all work, too. In any setting, bringing wood into a space adds warmth, coziness, and the allure of simpler times.
Rustic wood is also usually reclaimed wood, which has the benefit of being eco-friendly. Any time a construction or design element can be used from repurposed materials, both waste and cost are usually reduced. When trying to save money on decorating a home or office, you can DIY with these five easy projects using rustic wood.
Twig & Twine Picture Frame
One of the simplest rustic wood DIY projects is a twig and twine picture frame. Look for twigs in your backyard, park, or a local forest that are around one-inch thick. A few smaller twigs can also be gathered together until they reach that girth. Their length will depend on the shape and size of the photo or piece of art you want to frame. For a square, find twigs that are relatively the same length; if you want more of a rectangular frame, stick to twigs that differ about two-to-three inches in length.
If you're using a few smaller twigs on each side, bundle them and use wood glue or hot glue to keep them together. The twigs probably won't form a perfect shape, but overlapping them provides a unique and stylish look. If you have thick single twigs forming your frame, you can nail them together for added stability, otherwise glue will suffice. Wrap the four corners of your frame with twine and tie off in the back. Then add a single piece that is approximately the length of one side to use as a hanger.
For more of a coastal look, pieces of driftwood can be used instead of twigs. Nautical rope or hemp can also be substituted for twine. While raw, natural wood is typical for rustic decor, neutral paint colors or wood stains can also be brushed across the surface for a weathered look.
Driftwood Wall Sconce
For a rustic (yet modern) look try out a driftwood wall sconce. Driftwood can be collected at your local beach or even purchased online through sites like Ebay. The best pieces for this project will be split into a Y-shape. A shape like this will allow you to easily hang the bulb for the sconce using a simple cord set. The only other materials you will need are a nail, screw, and d-ring hanger, as well as an Edison style light bulb. Simply screw the d-ring hanger into the piece of driftwood so it will lie flat against the wall. Hook the hanger onto the nail to hang the sconce. Then you can wrap or drape the cord around the piece of driftwood and let the bulb hang however you like. If you like things a bit more neat and tidy, wrap electrical tape around the piece of driftwood to secure the cord to the sconce. You can always cover it up with yarn, rope, or twine for added rustic appeal.
Rustic Wood Bench
Some of the most beautiful furniture designs are the simplest. By just using 2x4's and 2x6's you can create an elegant entryway or dining table bench. If you buy the wood at a home improvement store, such as Home Depot, they will cut the wood to your specifications if you ask. Then, all that's left is the assembly! To attach the pieces of wood, you can pre-drill pocket holes or just screw them together. Use wood glue at the joints to ensure stability. Once your design is assembled, you can leave it raw and unpainted or apply a pretty, rustic wood stain that fits with your style.
Wood Plank Coat or Jewelry Rack
If you live on or near a farm, you can easily repurpose barn wood as the base for a rustic coat or jewelry rack. Similarly, if you live in a coastal area, driftwood is a great substitute. All you need is a piece of wood and hooks, or other household items, to hang your things. Aside from typical hooks from the hardware store, great alternatives are cabinet knobs, nails, old keys or spoons.
Depending on what you intend to use your rack for, the length of your wood piece will vary. A coat rack will need more hooks, typically four or more, so your piece of wood should be at least 20" long. For jewelry or other items that don't need as much space between hooks, 10" or so is usually fine.
Rustic Pallet Wall Art
Old pallets can be reused and turned into almost anything. One of the nicest ways to add a touch of rustic charm to a room is by creating your own pallet wall art. Pallets are used for shipping and many businesses including grocery and big box stores will give them to you for free if you ask. Because they're often reused, pallet wood is already rustic looking and distressed.
You can keep your pallet as it is or break apart the boards and reassemble them. If you decide to break them apart, pound out the old nails and then put together your new layout. Backboards can be cut with a simple handsaw or broken by hand and then sanded down. Nail your pallet wood to the backboards for support. With the flat, smooth side up, you can then draw, stencil, or paint your design or lettering onto the pallet. For an added bit of rustic flair, nail old hinges or other hardware to the corners.

